A Tinder-like card game with Framer-Motion
Stack used
- Next.js + Typescript
- Tailwind
- Framer Motion
Side note
This post is not a tutorial on building this module from scratch, but a recap of the process and things I wanted to share. I invite you to take a look at the repo if you are interested on examining or pulling the whole code.
Context
In the same vein of my precedent small puzzle game, I adapted the concept of Tinder-like cards swipe using Framer-motion, a powerful React animation library that I still explore on a regular basis.
Initially, I designed an animated prototype and I decided to implement it, in order to customize it for client in the future.
Here are the live demo and the public repo.
Design
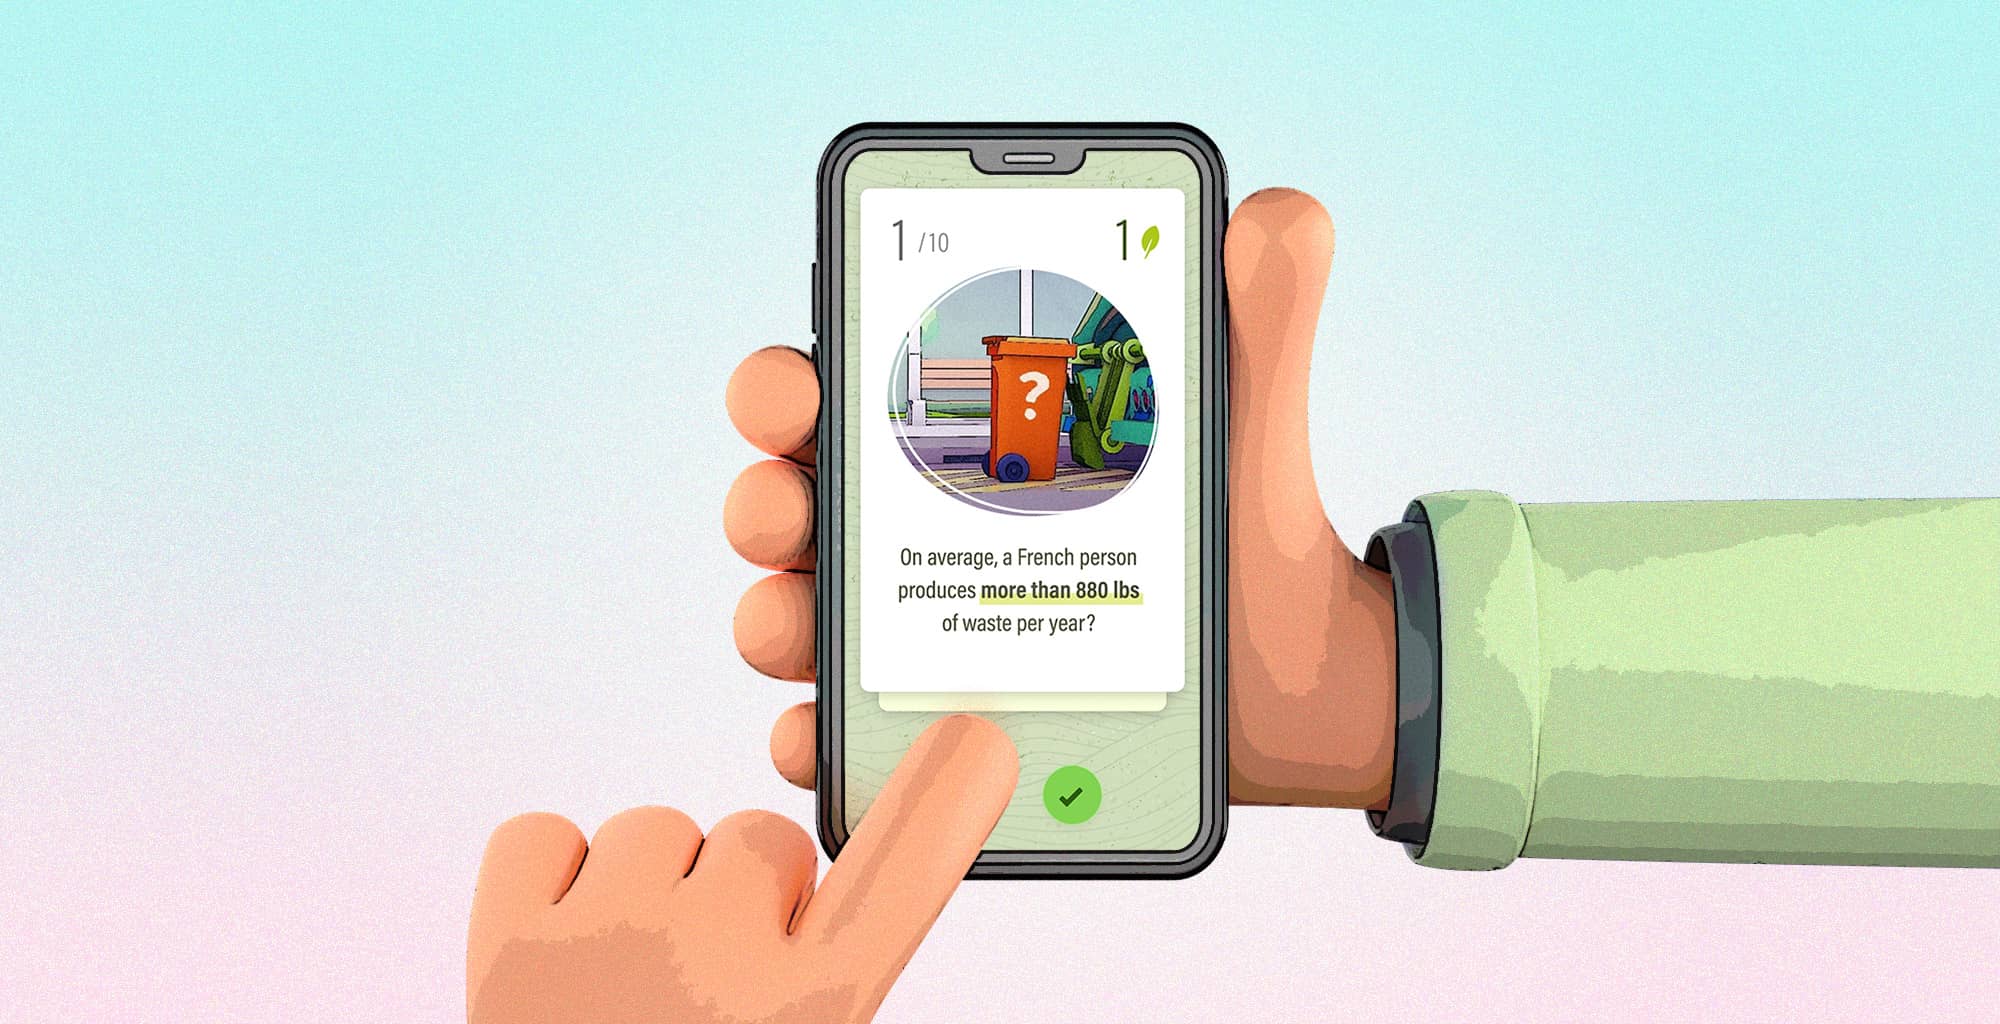
The initial concept was to propose a quick game testing someone knowledge on the carbon footprint.
The Tinder-like gesture turned out to be an interesting UI solution, as it brings an appealing, and entertaining UI.
After designing some key screens (Figma) and tested them through an animated After Effects prototype (After Effects), time has come to turn it into some functional code.
Framer-motion
This kind of interactity perfectly fits with what Framer-Motion is capable of. We are talking about gesture event listeners and animation controlled elements.
1. Gesture management with Drag
The first needed piece is the Drag gesture, that will be mapped from the swipe movement.
Framer-Motion has the Drag & Pan helpers.
It's a matter of turning moving elements into a "motion" element using:
<motion.div>
Then apply specific Framer-Motion attributes on them.
For the use-case of a swiping card, I used the following ones :
- drag (set the element draggable)
- dragSnapToOrigin (animate the element back to origin at release)
- dragElastic (set increasing friction as the element walks away from its origin)
- dragConstraints (maximum distance allowed from element's origin)
- dragTransition (apply an organic easing when the elements move away or back at release)
- onDragStart (speak for itself)
- onDragEnd (speak for itself)
All of these events handlers greatly simplify the process to animate a card properly, so it behave with constraints and elastic transitions.
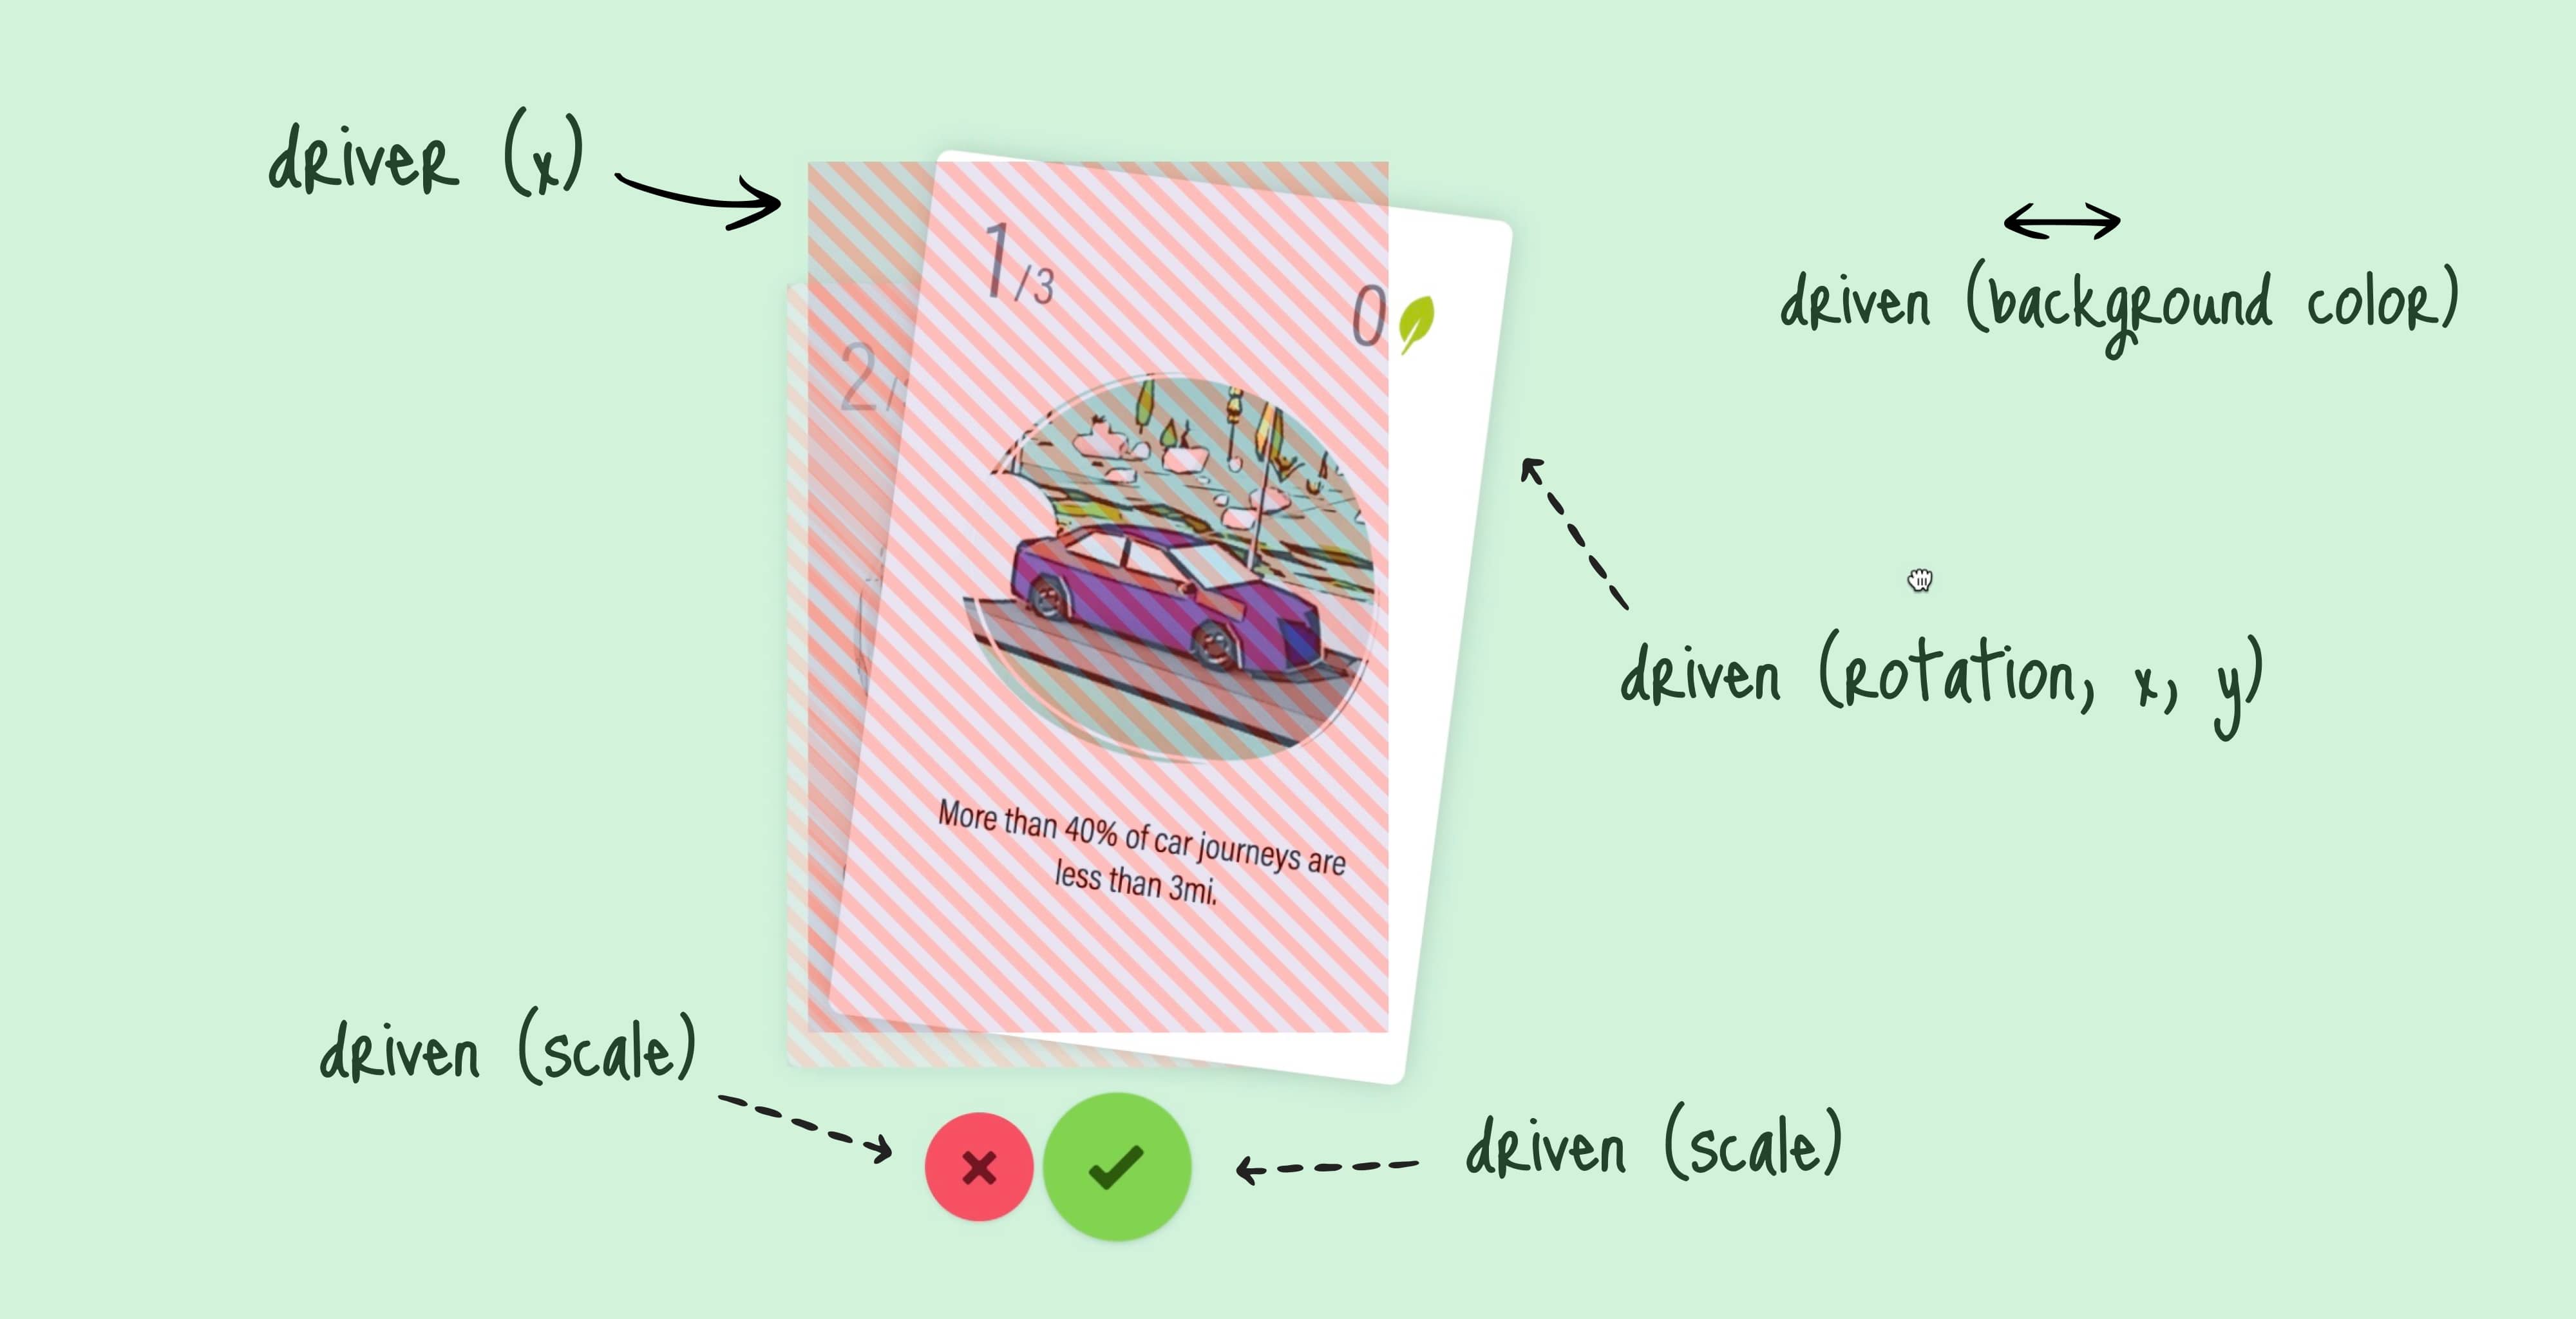
2. Value mapping with UseTransform
The second needed piece is the transform helper to map other elements animation as we swipe left or right (e.g: the bottom action buttons scale).
Framer-Motion has the useTransform hook.
This is the Framer-Motion helper to map any primary movements to control adjacent elements.
The useTransform expose an output value based on a Motion value. This hook track any motion values derived from a primary element.
Usually, we extract this motion value as variable from an element styled property, and pass it to the useTransform hook to map the desired output.
const x = useMotionValue(0)
const inputX = [-150, 0, 150]
const outputY = [50, 0, 50]

let drivenX = useTransform(x, inputX, outputY)

// ...

return <motion.div style={{ x }}></motion.div>
In this case, x is the Framer-Motion shorthand property for transform: translateX() , and only works for element with motion tags.
3. Animation state tracking with useMotionValueEvent
Lastly, a very useful thing is to trigger some actions based on some animated values.
Framer-Motion has the useMotionValueEvent hook.
It acts like a useEffects, but is specifically designed to work with motion values.
const x = useMotionValue(0)

useMotionValueEvent(x, 'animationStart', () => {
  console.log('animation started on x')
})
In my case, I used it to lift some updated states to a parent component, because animated adjacent components (actions buttons and colored background) are one level up:
useMotionValueEvent(x, 'change', (latest) => {
  setCardDrivenProps((state) => ({
    ...state,
    buttonScaleBadAnswer: drivenActionLeftScale,
    buttonScaleGoodAnswer: drivenActionRightScale,
    mainBgColor: drivenBg,
  }))
})
Swipe logic
In my specific case, I wanted to have a more granular control over the swiped card, so I used an additional transparent overlay as draggable element to control the card itself.
That is pretty much it for the Framer-Motion hooks experimented.
The official doc does a pretty good job at explaining the api. For additional and more human resource, I strongly advise the Sam Selikoff channel, a true expert with a great pedagogy on the subject.
Image-mask
Another thing I struggled with was masking the card image with a custom shape, while leveraging the Next.js Image component.
I wanted to use an SVG mask but failed at a satisfaying result in term of concice syntax.
I ended up using a png image using the CSS mask-image property. It works BUT, we have to put in the webkit vendor prefix to make it work.
style={{
    maskImage: `url('/images/gamecard-image-mask.png')`,
    WebkitMaskImage: `url(/images/gamecard-image-mask.png)`,
    maskSize: "contain",
    WebkitMaskSize: "contain",
    maskRepeat: "no-repeat",
    WebkitMaskRepeat: "no-repeat",
}}
Contexts and RSCs
Next.js has adopted the new React server component paradigm.
This module is mostly state driven animated, so pretty much all the components are client.
I could have put the text as server component with boundaries, but I didn't see the burden being worth, for this prototype.
The Root Layout is the only server component and pass some initial datas to some React contexts.
These contexts take care of the current game and user score.
I don't want to advertise, but I learned a lot from the free Jack Herrington course to refactor the way I wrote contexts and how to deal with this new paradigm, regarding management state.
Wrapping up
Framer-Motion is a huge and pretty complex library that I still explore and use on a regular basis.
There is still a pile of hooks I haven't play with yet.
Also don't hesitate to drop feebacks, as there is always a lot to learn from each others!